If you love cherishing memories and if you love doing craft then I have the perfect project for you where you can create a holiday keepsake this year.
Using a verse that I have created each page to be decorated will have something to do with xmas.
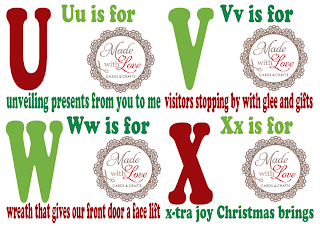
This is an image of the verse I created for a print which I will be printing off to display as part of my home decor. I can print this off as an A2 sized posted at officeworks for $10!
I have had this project in mind for a while and wanted to create something that you can turn into a holiday keepsake by collaging images from magazines, from drawing your own images, from adding in photographs and the possibilities of what you can use this for are endless.
Perfect to put away in their keepsake boxes to pull out at their 21st birthday.
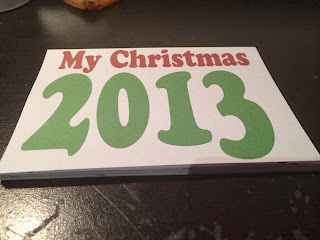
This project is perfect for letting your imagination roam freely as each page is up to your interpretation. I have also included a few pages I created to give you an idea.
Each page is 14.8cm x 10.5cm in size so plenty of space to go crazy with your scissors and glue (within reason of course).
So are you ready to have fun?
These are images of the PDF printable each page (which will be not be watermarked when downloaded):
Now lets make this DIY keepsake book!
To make this holiday keepsake book you will need:
*The PDF printable which can be purchased from here for $1
*Scissors
*glue
*Key ring (jump ring)
*hole punch
*You will also need other materials depending on how you decide to do each page such as cardstock, paper, photos, magazines, embellishments and more!
Step 1:
You will need to purchase this project from my etsy store for $1 to create this project. This can be purchased from here. You will not receive a watermarked version, this image above is for example purposes only. It is an instant downloadable file once purchased you can download and print the file.
Step 2:
You will need to cut each page into 4 rectangles that are 14.8 cm wide (half an A4 width) and 10.5cm high (half an A4 in height).
Step 3:
You will need to hole punch each page. Depending on your type of punch you could be able to hole punch more then one page at a time. I have hole punched the top left corner. You could also punch the sides to make it into a binder book as well.
Step 4:
Thread the pages through the key ring (jump ring) making sure that the pages are in chronological order. I have used a jump ring with a hook so that it can hang and be displayed in my home. I have no idea what or where I got it from just happened to find it sitting on the bench- score! Love when you can find purposes for things otherwise deemed useless!
Step 5:
Start decorating each page with however your imagination sees fit! The possibilities are endless! I created an angel for the A page.
Other pages I created for examples are below:
I hope you enjoy creating this fun and imaginative keepsake and please feel free to share your creations!


No comments:
Post a Comment